

Install Wildcard SSL Certificate with Cloudflare using Certbot on Ubuntu 20.4 with Nginx
How to install and configure the dns-cloudflare Certbot plugin, generate a wildcard Cloudflare certificate, and configure Nginx vhosts to use that single certificate.
This tutorial shows how to install and configure the dns-cloudflare Certbot plugin. Specifically, showcasing how to generate a wildcard Cloudflare certificate and configure Nginx vhosts to use that single certificate. At the end is a bonus step to automatically configure all future subdomains without needing to add DNS, run Certbot or create additional Nginx vhost configs.
Prerequisites:
- Ensure Certbot classic is already installed via snap on your server.
- Ensure your root domain
Arecord is pointing to your server in Cloudflare.
Allow Plugins in Certbot Container
With Certbot installed, acknowledge that the installed plugin will have the same classic containment as the Certbot snap.
sudo snap set certbot trust-plugin-with-root=okInstall Cloudflare DNS Plugin
Set up the Cloudflare authenticator plugin to enable DNS-01 verification.
sudo snap install certbot-dns-cloudflareGenerate API Token in Cloudflare
Log in to the Cloudflare dashboard and click on My profile -> API Tokens.
You’ll need to create a token with Edit zone DNS permission.
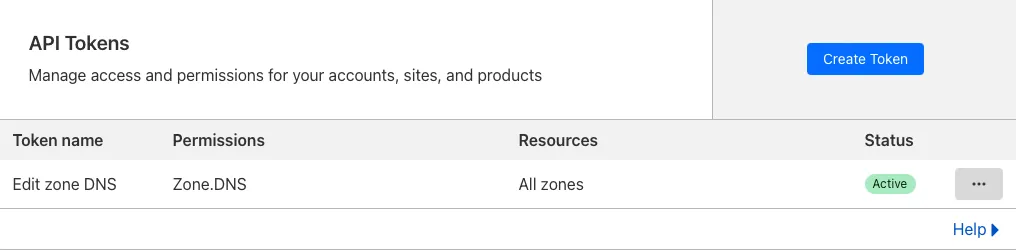
You should restrict the Zone Resources to a specific zone. You can also restrict the IP
address with the Client IP Address Filtering option.
Create Cloudflare Configuration File
It is up to you where you want to create the file but as an example, you may want to create the
file in /root/.secrets/cloudflare.ini. The contents of the configuration file should include
your Cloudflare token.
dns_cloudflare_api_token = <cloudflare_api_token>You should protect the secrets directory and files:
sudo chmod 0700 /root/.secrets/

sudo chmod 0400 /root/.secrets/cloudflare.ini
Generate Wildcard SSL Certificate
sudo certbot certonly \
  --cert-name example.com
  --dns-cloudflare \
  --dns-cloudflare-credentials /root/.secrets/cloudflare.ini \
  -d example.com,*.example.com
Your certificates will be saved to /etc/letsencrypt/live/example.com/
The --cert-name parameter is optional and denotes the folder name of the certificate. If
omitted, the command will generate its own name (example.com-0001).
Testing Auto Renewal
You should test to ensure automatic renewal is working correctly.
sudo certbot renew --dry-runIf you experience an error where the Cloudflare credentials are missing, manually specify the
renewal params in /etc/letsencrypt/renewal/example.com.conf.
#update existing option
authenticator = dns-cloudflare

#add new option
dns_cloudflare_credentials = /root/.secrets/cloudflare.ini
Changing Cloudflare SSL Mode
With a wildcard certificate, you can now swap to Full (Strict) SSL Mode in Cloudflare.
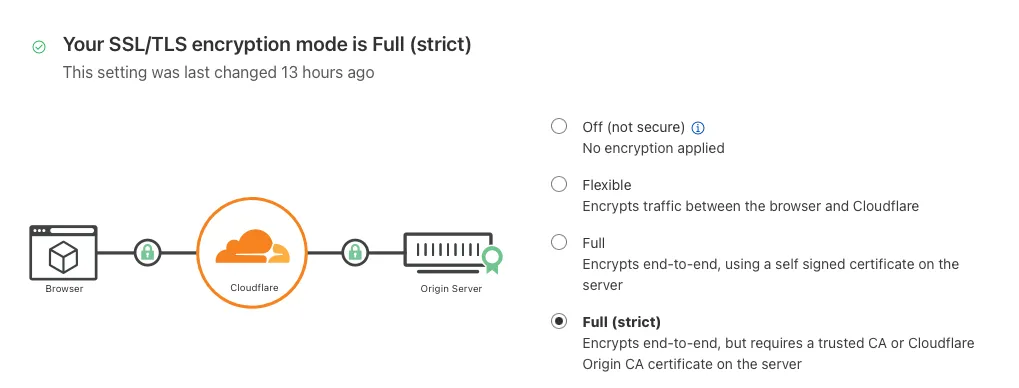
Additionally, if you don’t require port 80 (http) for anything else, you can safely block port 80 using a firewall. If you’re using UFW:
sudo ufw delete allow "Nginx HTTP"

sudo ufw status
Configure Root Domain Nginx Vhost
Add your wildcard certificate ssl_certificate and ssl_certificate_key to root domain Nginx
config /etc/nginx/sites-available/example.conf
server {
        listen 443 ssl;
        listen [::]:443 ssl;

        root /var/www/html/example;
        server_name example.com www.example.com;

        ssl_certificate /etc/letsencrypt/live/example.com/fullchain.pem;
        ssl_certificate_key /etc/letsencrypt/live/example.com/privkey.pem;
        include /etc/letsencrypt/options-ssl-nginx.conf;
        ssl_dhparam /etc/letsencrypt/ssl-dhparams.pem;
}
Configure Wildcard Nginx Vhost (Optional)
Create a wildcard configuration to catch all subdomains /etc/sites-available/wildcard.conf
server {
        listen 443 ssl;
        listen [::]:443 ssl;

        server_name ~^(?<subdomain>[^.]+).example.com;
        root /var/www/html/$subdomain;

        index index.php index.html index.htm index.nginx-debian.html;

        location / {
                try_files $uri $uri/ /index.php?$args;
        }

        location ~ \.php$ {
                include snippets/fastcgi-php.conf;
                fastcgi_pass unix:/run/php/php8.3-fpm.sock;
        }

        access_log /var/log/nginx/$host-access.log;
        error_log  /var/log/nginx/$host-error.log;

        ssl_certificate /etc/letsencrypt/live/example.com/fullchain.pem;
        ssl_certificate_key /etc/letsencrypt/live/example.com/privkey.pem;
        include /etc/letsencrypt/options-ssl-nginx.conf;
        ssl_dhparam /etc/letsencrypt/ssl-dhparams.pem;
}
Don’t forget to create a symbolic link, test and reload Nginx.
sudo ln -s /etc/sites-available/wildcard.conf /etc/sites-enabled/
sudo nginx -t
sudo service nginx reload
Create Wildcard DNS Record in Cloudflare (Optional)
Entirely optional, but you can create a wildcard DNS record so you don’t have to create an
additional DNS record for each new subdomain. To begin, add a new CNAME or A record in
Cloudflare. Use * for the name of your DNS record to capture all subdomains.

Then as long as your subdomain has the same name as your directory, you automatically have a configured vhost with SSL.
https://test.example.com -> /var/www/html/testJust like that! For all new subdomains, you only have to create a folder in the public html directory for SSL to just work 🔐 Happy Coding!
Related posts
Continue reading

The Importance Of Search Engine Optimisation
Search Engine Optimisation is the process of selectively enhancing your website content and structure to adhere to popular search engine conventions and standards.
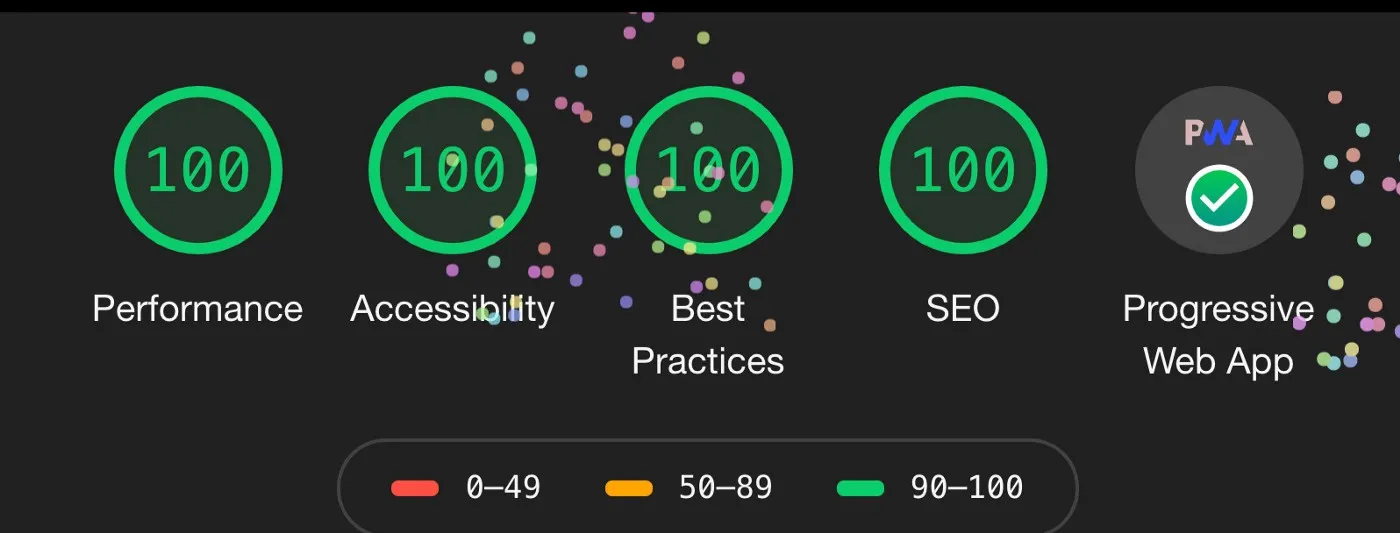
Always Lighthouse Speed Test Your Website
The Lighthouse Speed Test is a crucial part of website analysis and performance. Not to mention, it's a vital part of improving your website's SEO.